All Recipes
Homemade Maple Marshmallows
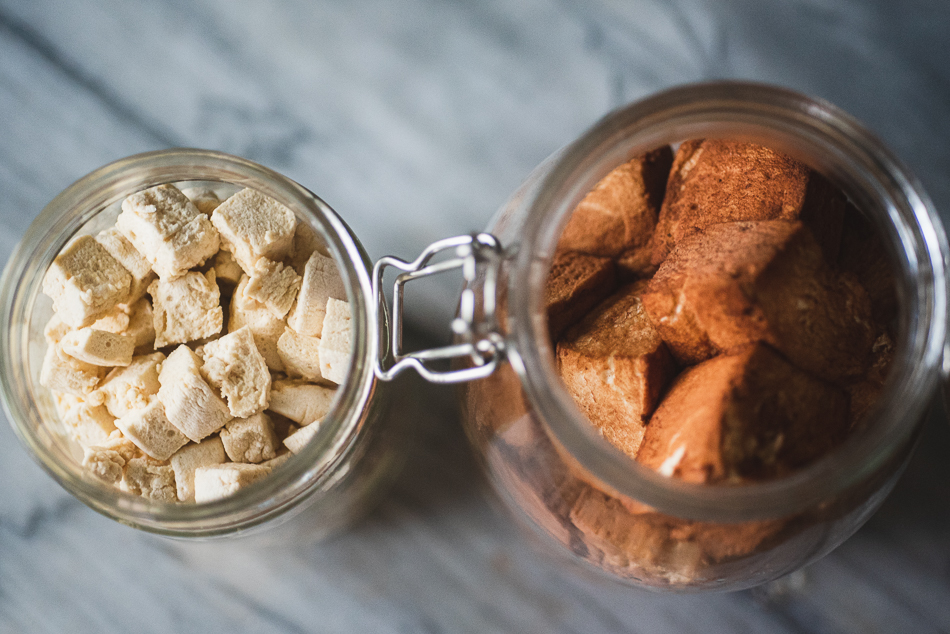
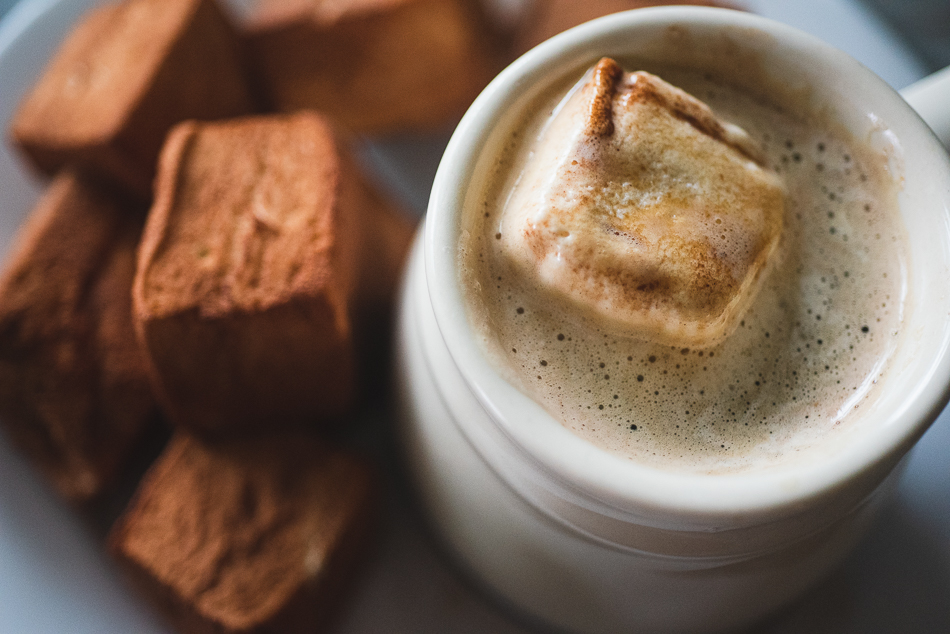
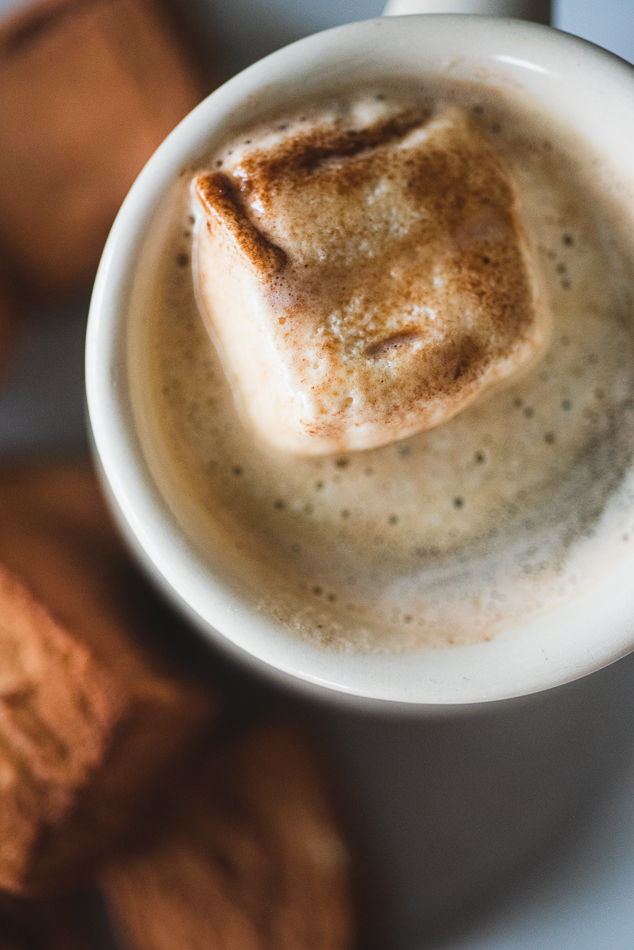
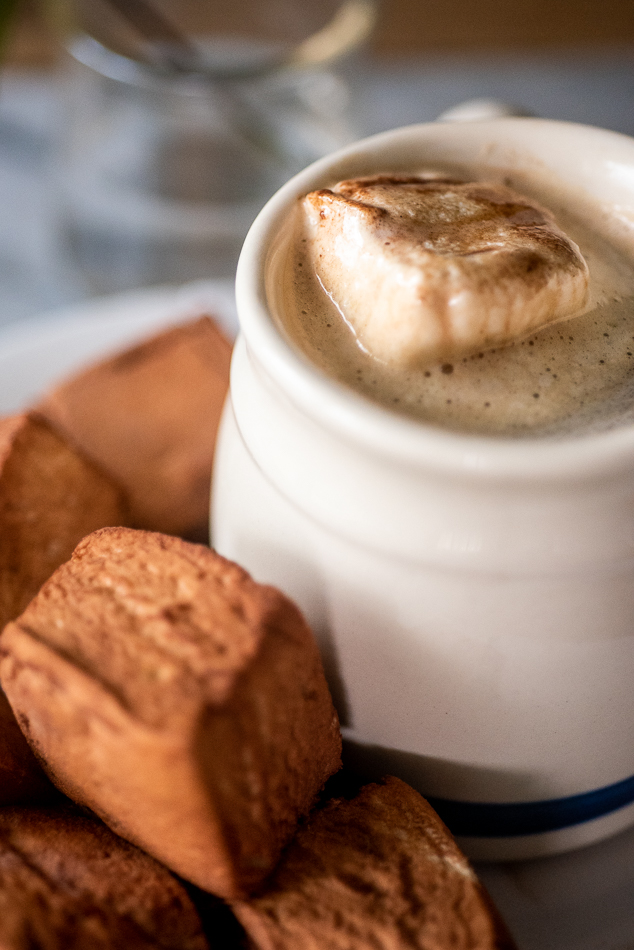
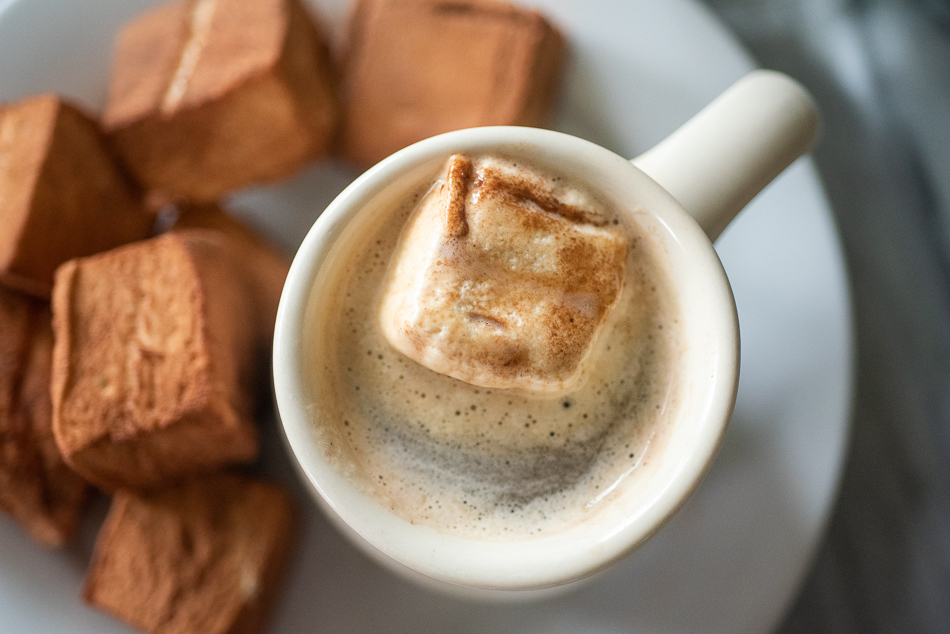
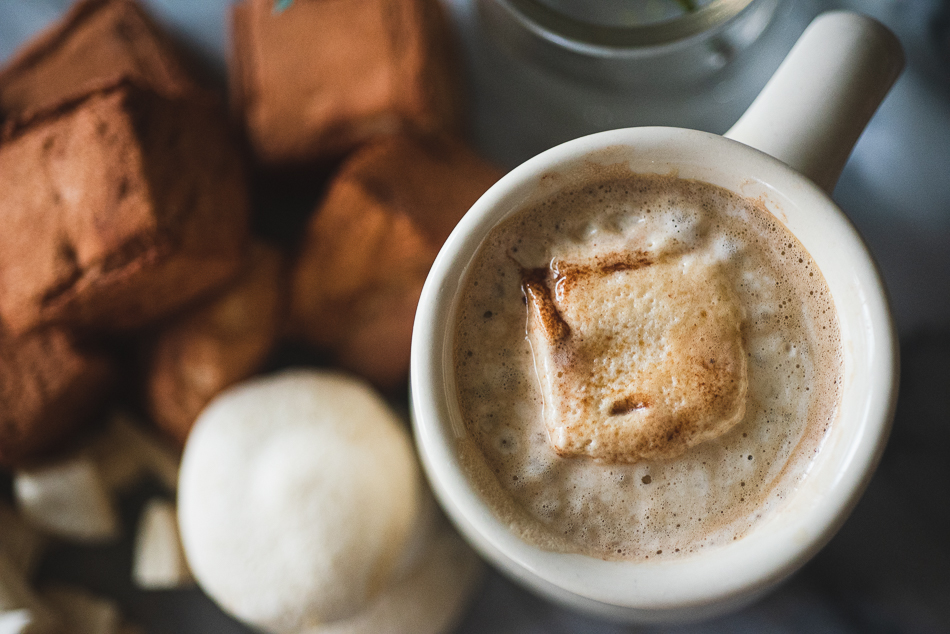
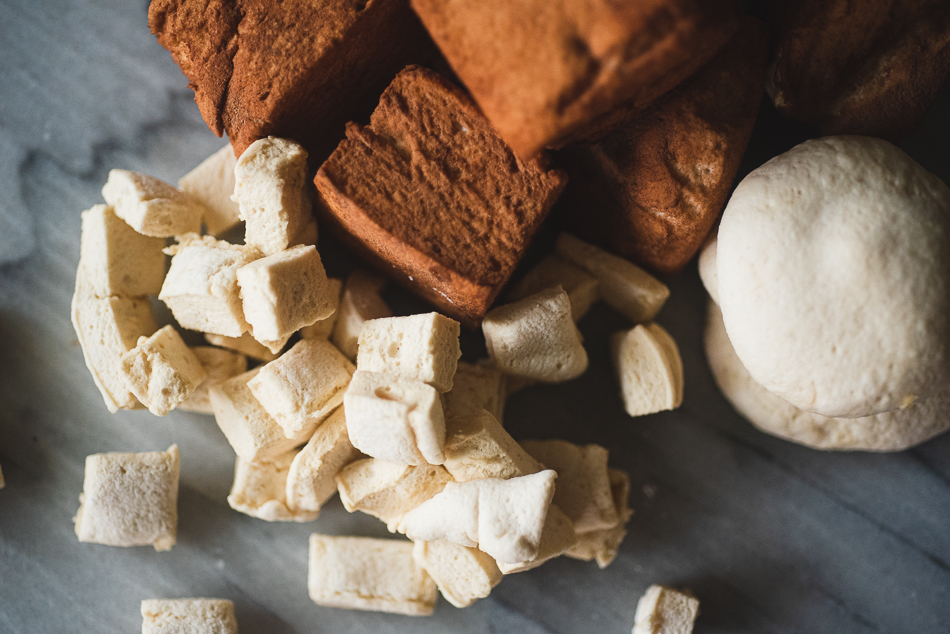
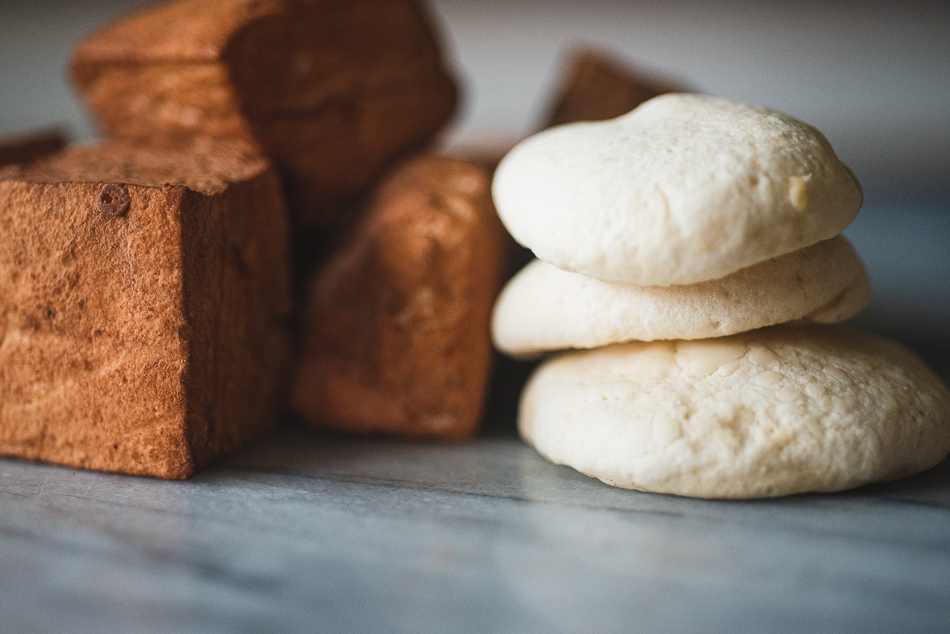
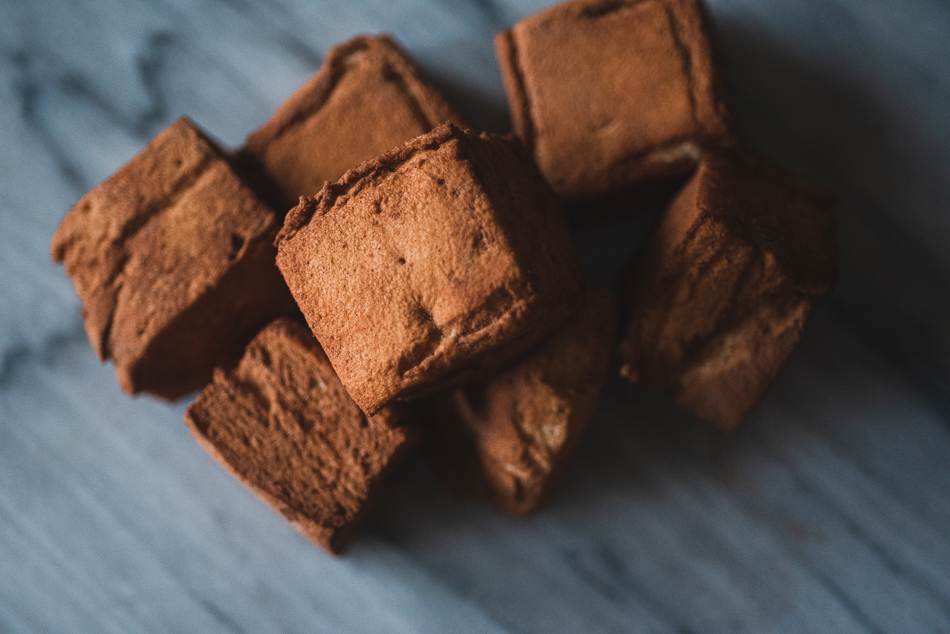
I’ve been making my own marshmallows for years! As soon as I realized how magical (scientific really) taking a few raw ingredients and transforming them into puffy sweet mallows was, it was over. Dangerously simple. The ingredients I’ve used have evolved over the years as I’ve moved much of our sugar intake to whole naturally found sources of sweets. This is my favorite way to make them, and I always double the batch, because they’ll stay puffy in the freezer for about two weeks. I even drop one of the cocoa-covered mallows into my morning coffee for a mildly sweetened nutrient boost!
Ingredients
*Special equipment: candy thermometer, just do it. you’ll never regret having this little tool that will open your world to homemade sweets.
1/4 cup arrowroot powder for dusting (you could sub cornstarch/cocoa powder/powdered sugar too)
2 cups-water, divided in recipe
5 tablespoons-grassfed gelatin
2 cups- maple syrup
1/4 cup-raw honey
pinch of sea salt
4 teaspoons vanilla
1 tsp cream of tartar
DIRECTIONS
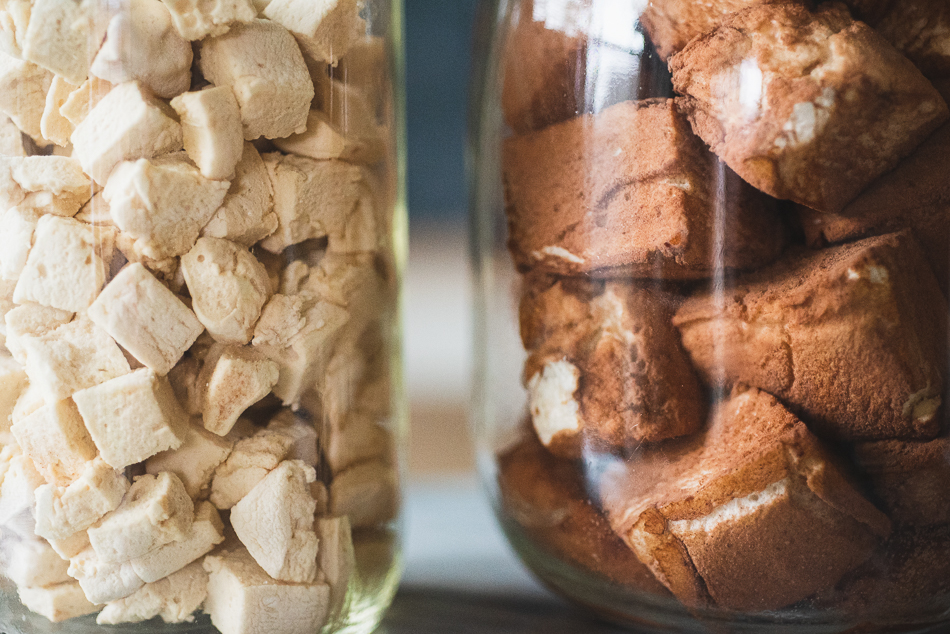
- Spray 9×13 pan and line with parchment paper. Sprinkle whichever powder coating you want to cover the mallows in over the parchment paper.
- Pour 1 cup water into the bowl of your stand mixer and sprinkle gelatin over the top. Stir to incorporate and leave to gel while you cook the sugar.
- Add the remaining 1 cup of water, maple syrup and honey, or all maple.
- Bring mixture to a boil over medium heat. Keep an eye on your thermometer, because you’re looking for it to hit the softball stage around 240F. This usually takes around 15 min, so I use the time to make sure everything is ready that I want to pour my mallow fluff into when it’s made.
- Once you hit 240F, slowly and carefully pour the hot sugar mixture into your mixer bowl while it’s on low speed.
- As soon as you’ve added all the sugar syrup, increase the speed on your mixer to high, and wait. After about 5-6min you’ll see and believe the magic is happening! This is when you stop and add vanilla and creme of tarter.
- Mix on high until your bowl fills up with fluffy,white, sweet mallowy goodness.
- Once you see that, use spatula scraper to empty the bowl into your prepared pan and spread quickly.
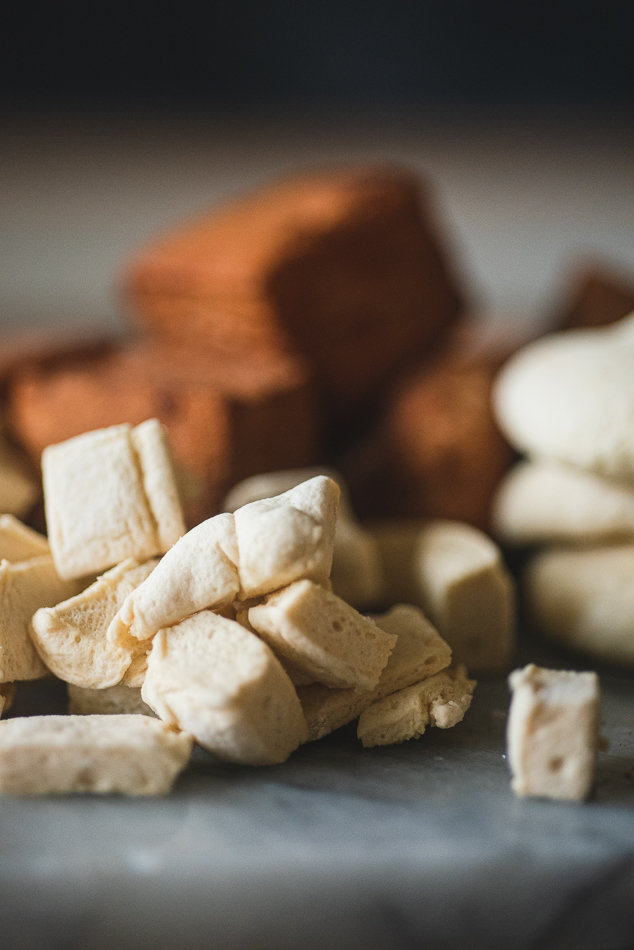
- I like to swipe the top with an offset spatula to smooth, and then dust with more powdered coating.
These mallows will set at room temp in about 2-3 hours, but I throw them in the fridge, so they’ll get very firm and I can cut them up and store. Once set, you can dust your knife blade with powder coating and slice up to whatever size you like. I store mine in a jar in the freezer for a few weeks, so I can add them to my morning coffee. But if you’re making them for a crowd, they won’t last, so feel free to store in an airtight container for a few days or in the fridge.